
Simple Old Fashioned Cherry Pie Recipe
Old fashioned cherry pie with flaky butter crust and sweet cherry filling. A classic Fourth of July dessert for summer gatherings.

There is something deeply nostalgic about a homemade cherry pie cooling on the kitchen counter while fireworks crackle in the distance and kids run barefoot through the backyard. Idyllic.
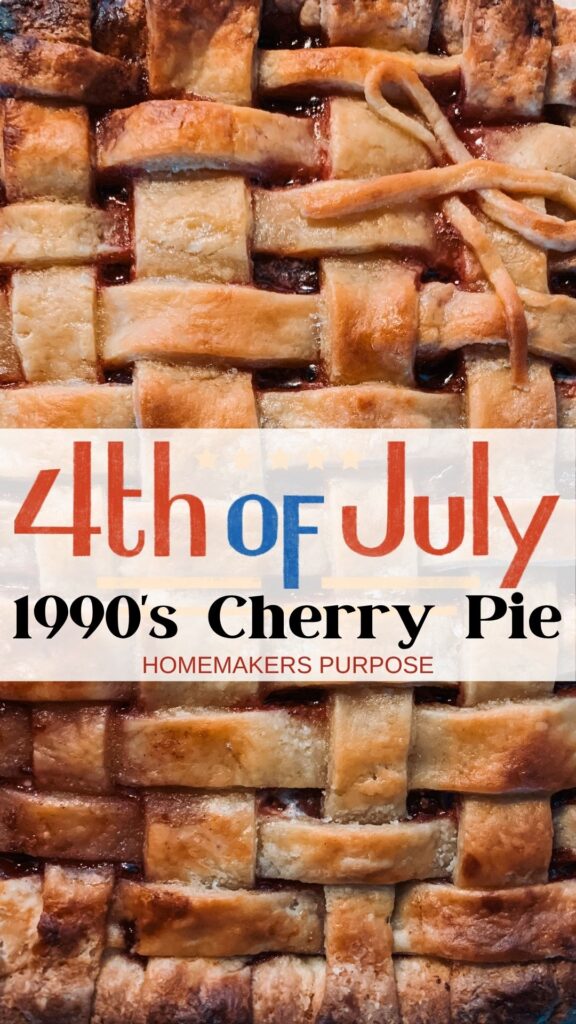
This homemade cherry pie recipe feels like summer in the most old-fashioned way — buttery flaky crust, sweet cherries bubbling through the lattice top, paper plates stacked beside pitchers of basil lemonade, and hamburgers smashed on the griddle while the neighborhood gathers for a backyard barbecue.
It is the kind of dessert that belongs at Fourth of July cookouts, family reunions, church picnics, and long summer evenings spent outside until the fireflies appear.
If you grew up in the 90s, this pie tastes like sparklers in the driveway, plastic lawn chairs in the grass, watermelon dripping onto sticky hands, and watching fireworks after dark while someone hands you homemade pie and ice cream on the lawn.

And if you love the charm of a slow life, homemade cherry pie carries that same timeless feeling of gathering family around the table with something made from scratch.
Baking during cherry season? Pair this pie with my homemade butter pie crust recipe and homemade cherry jam recipe for the full old-fashioned summer cherry experience.
Pin Now For Later
Why You Will Love This Homemade Cherry Pie
- Flaky homemade butter crust
- Sweet and tart old-fashioned cherry filling
- Perfect for Fourth of July gatherings and summer cookouts
- Beautiful nostalgic dessert for holidays and family dinners
- Freezer friendly and make-ahead friendly
- Delicious served warm with vanilla ice cream
- Nostalgic childhood summer dessert
The Nostalgia of Homemade Summer Desserts
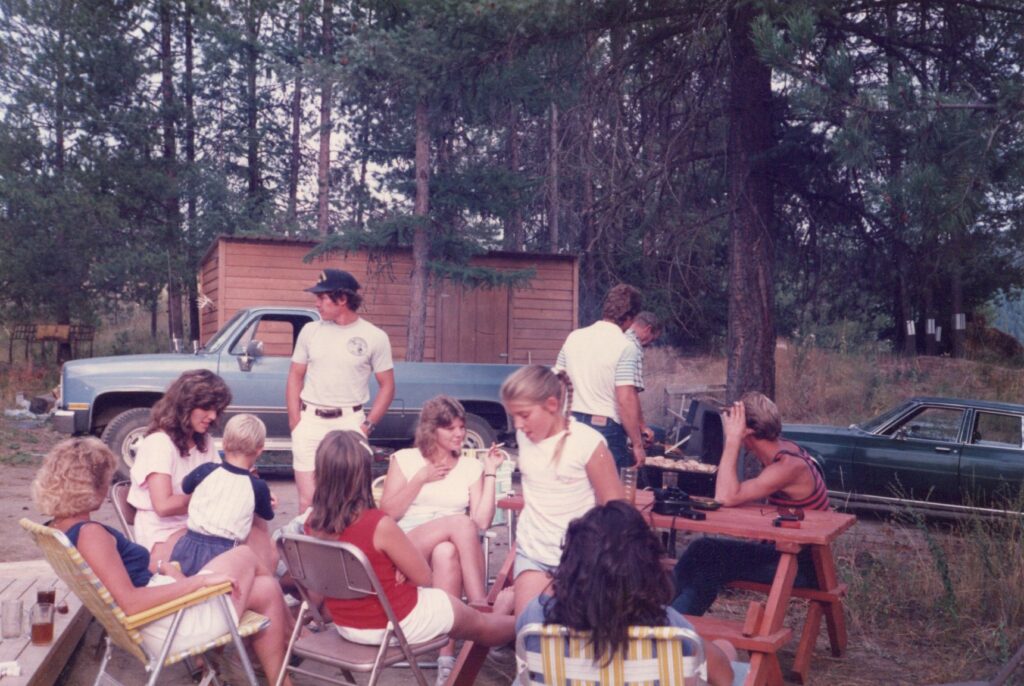
Homemade cherry pie feels tied to a slower kind of summer. The kind with citronella candles glowing on the patio, coolers packed with melting ice, aunts and uncles smoking under porch lights and old lawn chairs circling the backyard while cousins catch frogs.
It brings back memories of:
- plastic red gingham tablecloths
- rusty nails in a coffee can
- sparklers after sunset
- gravel driveway fireworks
- handwritten recipe cards
- mothers and grandmothers baking before guests arrived
- watermelon slices on paper plates
- country music drifting from grandpa’s shop radio
There is a reason old-fashioned desserts still feel comforting decades later. They remind us of home, tradition, and simple family gatherings that never left us, that we yearn to re-live.
The Best Cherries for Cherry Pie
Tart cherries create the classic cherry pie flavor, but sweet cherries work beautifully too. My personal favorite are Bing cherries fresh off the branch.

You can use:
- fresh cherries
- frozen cherries
- home canned cherries
- store bought tart cherries packed in water
If using frozen cherries, thaw and drain excess liquid before preparing the filling.
During cherry season, I also love making homemade cherry jam to preserve extra fruit for biscuits, toast, and topping a German pancake throughout the year.
Ingredients for Homemade Cherry Pie
Homemade Pie Crust
- 2 Cups Flour
- 1/4 tsp Salt
- 1 Cup Butter
- 1/3 Cup Milk
- 2 Tbsp Butter for greasing dish
Cherry Pie Filling
- 6 cups cherries, pitted
- 3/4 to 1 cup sugar
- 1/4 cup cornstarch
- 1 tablespoon lemon juice
- 1 tablespoon vanilla extract
- 1 tablespoon butter
For the Top
- 1 egg
- 1 tablespoon water
- coarse sugar
How to Make Homemade Pie Crust

In a large bowl, whisk together the flour and salt.
Grate in cold butter into the flour mixture until coarse crumbs form. Add cold milk and form into a rough dough.
Divide into two and roll dough into crust sized rounds on a lightly flowered surface.
For extra tips and detailed photos, follow my full homemade butter pie crust recipe.
How to Make Cherry Pie Filling
Add cherries, sugar, cornstarch, lemon juice, vanilla extract, and almond extract to a saucepan.
Cook over medium heat, stirring often, until the mixture thickens and begins bubbling.
Remove from heat and stir in butter.
Allow the filling to cool slightly before assembling the pie.
Assemble the Pie
Preheat oven to 425°F. Grease a 9″ Pie plate with butter.
Roll out one crust and place it into the bottom of a 9-inch pie plate.
Pour in the cherry filling.
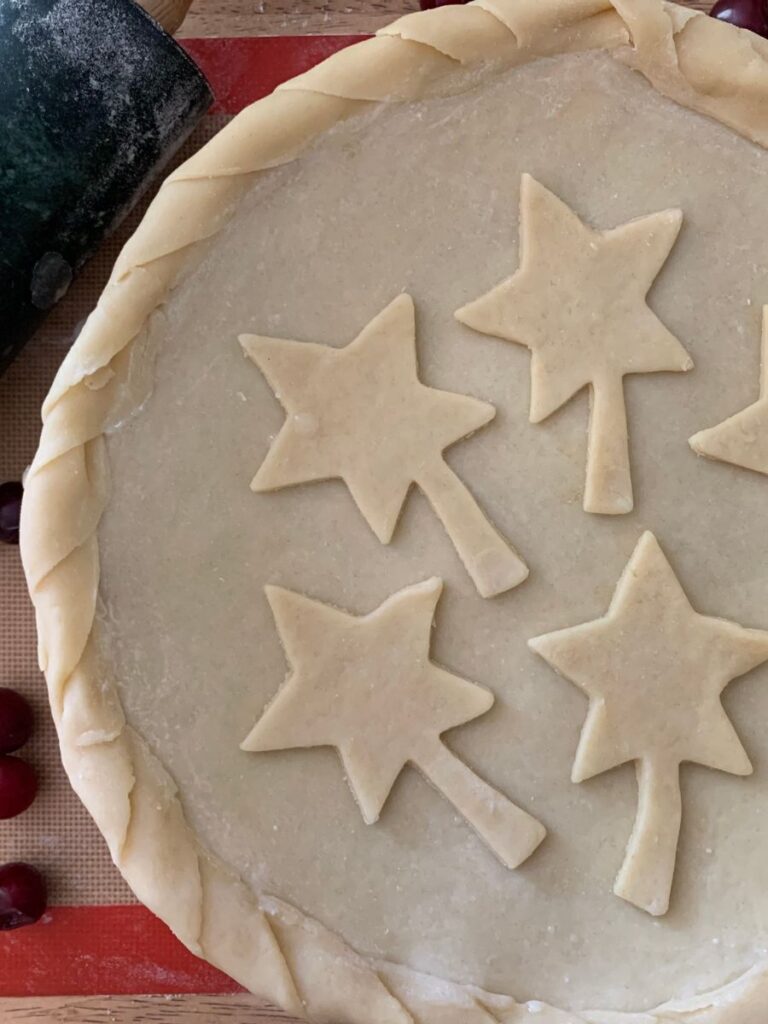
Add the second crust or create a lattice top for a classic old-fashioned look. For Fourth of July, use a star cookie cutter to decorate the top for a patriotic crust.
Trim and crimp the edges. Use any leftover lattice pieces to create a braid to rim the pie.
Whisk together the egg and water, brush over the crust, and sprinkle with coarse sugar.
(If using a full top crust, cut small slits to vent steam.)
Bake the Pie
Bake at 425°F for 20 minutes.
Reduce oven temperature to 375°F and continue baking for 20 minutes, or until the crust is golden brown and the filling bubbles in the center.
If the edges brown too quickly, loosely cover them with foil.
Allow the pie to cool completely before slicing. This will help it congeal.
A Cherry Pie That Feels Like Summer Childhood Memories
This pie tastes like the Fourth of July felt growing up.
Backyard sprinklers running across the grass. Spying a hummingbird on the feeder. Fireworks echoing through the neighborhood after sunset. Someone carrying folding chairs outside while kids waited impatiently for sparklers.
The sweet cherry filling and buttery crust feel timeless in the same way old summer traditions do.
It is the kind of dessert that naturally belongs beside griddle burgers, potato salad, ice-tea and backyard games.
Another Nostalgic Summer Dessert Idea
If you need another easy dessert for summer gatherings, my oatmeal crumble bars recipe made with my homemade cherry jam feels just as nostalgic. It’s a crisp – but with the crisp as the top and bottom (everyone’s dream)
The buttery oat topping and sweet vanilla cherry filling taste like something straight from a church potluck or a handwritten family recipe scrapbook from the 90s.
Easily made ahead, they travel beautifully for backyard barbecues, picnics, and Fourth of July celebrations too.
Tips for the Best Cherry Pie
- Use Cold Butter
Cold butter creates flaky layers throughout the crust and gives the pie that classic old-fashioned bakery texture. Be sure to grate the butter instead of cutting it in for a quicker & simpler result. - Bake Until the Filling Bubbles
The cherry filling must bubble in the center for the cornstarch to properly thicken and set. - Let the Pie Cool Before Slicing
Allowing the pie to cool helps the filling fully set and creates cleaner slices instead of runny filling. - Add Decorative Crust Cutouts
Stars, lattice strips, or seasonal shapes make the pie feel extra nostalgic and beautiful for holidays and gatherings.
Make Ahead Instructions
You can prepare the pie dough up to 3 days ahead and refrigerate it until ready to use.
The filling may also be made a day in advance. Or use a canned filling, either home canned or store bought.
The fully baked pie can sit covered at room temperature for up to 24 hours or refrigerated before serving.
How to Store Cherry Pie
Store leftover pie loosely covered at room temperature for 2 days or refrigerated for up to 5 days.
Warm slices before serving for the best texture.
Can You Freeze Cherry Pie?
Yes. Cherry pie freezes beautifully with these simple tips.
To freeze before baking:
- line a pie pan with parchment paper
- assemble pie completely
- wrap tightly in plastic wrap.
- Flash freeze for 2 hours, then remove the partially frozen pie from the pan.
- Wrap in foil if desired and place in a gallon freezer bag to store airtight.
- freeze for up to 3 months
Bake directly from frozen, adding additional baking time as needed. Your pie will fit perfectly in your pan.
Cherry Pie Faq’s
Yes. Drain excess liquid before preparing the filling.
Cornstarch thickens the filling while keeping it glossy and smooth.
Cherry pie can stay at room temperature for about 2 days, but refrigeration helps it last longer.

Simple Old Fashioned Cherry Pie Recipe

Ingredients
Pie Crust
- 2 Cups Flour
- 1/4 tsp Salt
- 1 Cup Butter
- 1/3 Cup Milk
- 2 Tbsp Butter for greasing dish
Cherry Pie Filling
- 6 cups cherries pitted
- 3/4 to 1 cup sugar
- 1/4 cup cornstarch
- 1 tablespoon lemon juice
- 1 tablespoon vanilla extract
- 1 tablespoon butter
Top
- 1 egg
- 1 tablespoon water
- coarse sugar
Instructions
- Preheat oven to 425°F. Grease Pie Pan.
- Prepare pie dough.
- Add filling ingredients to saucepan and cook over medium heat until thickened. About 20 minutes. Allow to slightly cool.
- Roll out bottom crust and place into greased pie plate.
- Add cherry filling.
- Add top crust.
- Brush with egg wash and sprinkle with course sugar.
- Bake for 20 minutes at 425°F.
- Reduce temperature to 375°F and bake another 20 minutes. If browning cover with foil to prevent burning.
- Remove from oven when filling is bubbling. Cool completely before slicing.


Love these old recipes, your lattice work is excellent too!
Beautiful and delicious! I love the star cut outs for independence day!